‘Sight Work’ on GI-Pattern 1911’s
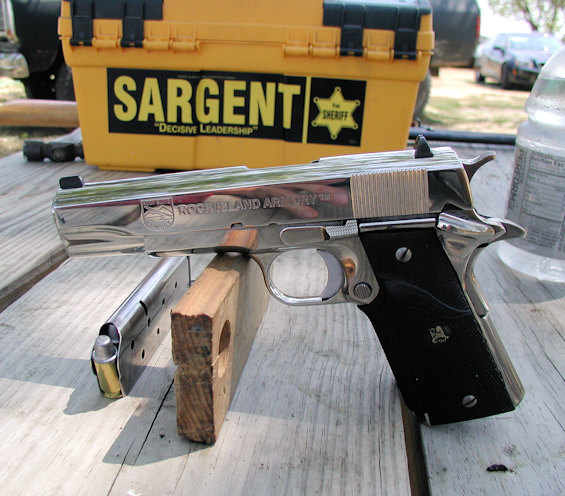
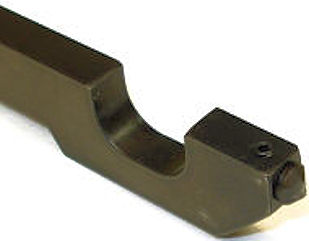
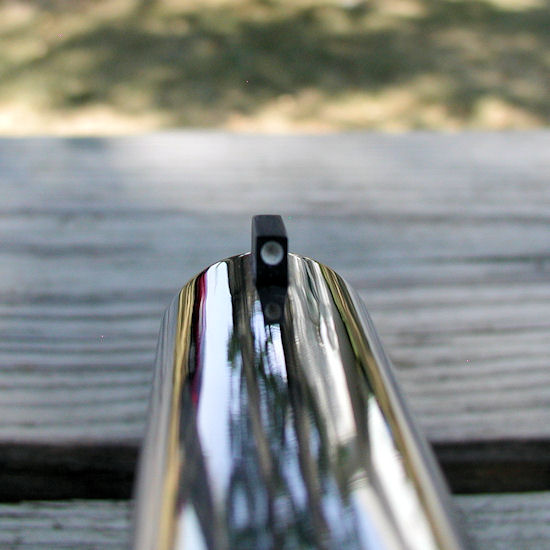
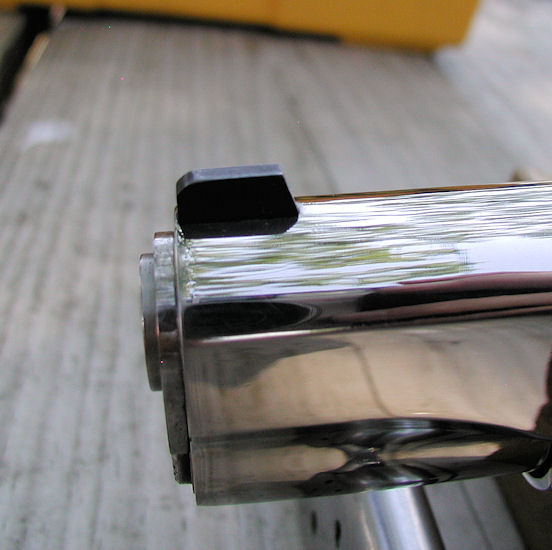
Some 1911 copies have GI-style front sights made from bad castings and to make matters worse, they are barely staked in place. The predictable result is that some will depart the gun in the middle of a magazine. Also, many simply prefer high-profile sights on this pistol. I generally shoot GI sights just fine, but Rock Island installs the sights on their bright-nickel guns before plating them. They suck in bright sunlight and since this is my primary carry auto, I decided to put higher-profile sights on it. My long favorite, the King-Tappan sights, are no longer available and I ordered a Maryland Gun Works ‘narrow tenon’ stake-on front ‘dot’ sight for GI and Series 70 Colts.
Staking a 1911 front sight isn’t the voodoo ritual its made out to me. You’ll need good light, a good staking tool, a Dremel for relief cuts & clean up and a padded vise to hold the slide. I like Brownell’s staking tool, which is designed to work around the recoil spring tube, and has easily-replaceable staking points.
Of course you’ve got to remove the old front sight first. Strip the slide and you’ll see the riveted mounting stake of the old sight. I generally use a 1/8 round, tool steel Demel cutter to remove as much of the rivet as possible; then I pad the top of the vise, to protect the slide, and lock the vise down tight on the old sight and twist the sight until it comes out. You may need to poke the stub out with a small screwdriver or such. Finish by cleaning up the staking hole, taking care not to distort or enlarge it. If your slide does not have a relieved area to rivet the stake into, you’ll need to grind one in at this point. The Rock Island slide had a nice, square relief cut so I was fine there.
My old 6” drill press vise gets used outside quite a bit, so I cleaned up the contact surfaces with a flat file and beveled the edges to eliminate burrs. For padding, I simply folded an old Coke carton, snugged the jaws on it and trimmed the overflow. I also cut a thin strip to protect the slide from the bottom of the vise. Just leave enough room for the top of the sight to rest on the bare steel bottom of the vise, while staking it.
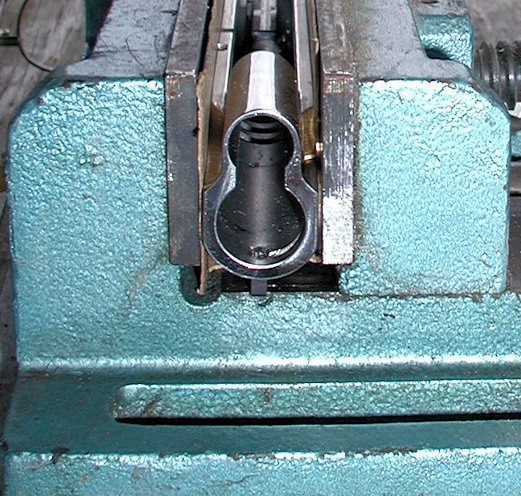
Setting this up properly is real important. Insure the front sight body is perfectly aligned with the slide and that the sight itself is as far to the rear as its mounting stake will allow. I tighten the vise just enough to hold the slide, adjust the works so that only the top of the front sight is supported by the bottom of the vise. I’ve learned to give the recoil spring tube a few light raps to seat everything, prior to final tightening of the vise jaws. I add a single drop of red Loctite to the sight stake and give it a few minutes to flow, before beginning.
The actual staking should be done lightly, taking care to rivet the stake into the relief cut evenly on both sides. Take your time. If done correctly, the sight will last for tens of thousands of rounds without loosening.
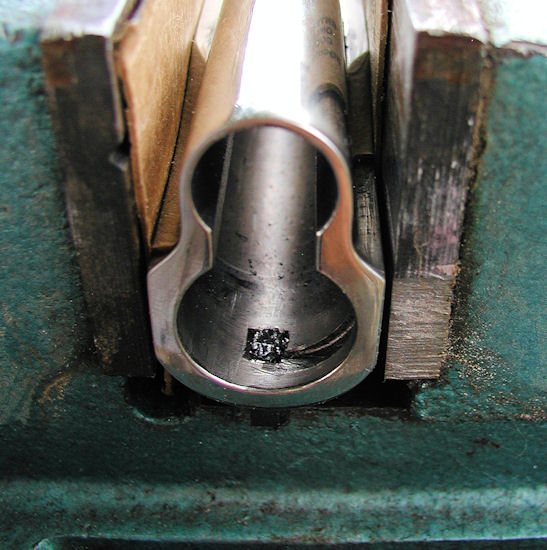
Note that the rivet is located at the end of the bushing cam cut. You’ll need to remove the excess with a small round stone, restoring the original contour. Clean the slide thoroughly and make sure the bushing installs freely, before reassembling the gun.
The finished sight should be solid as a rock and look like it grew there. Check it to insure no light is visible under the slide, from any angle.
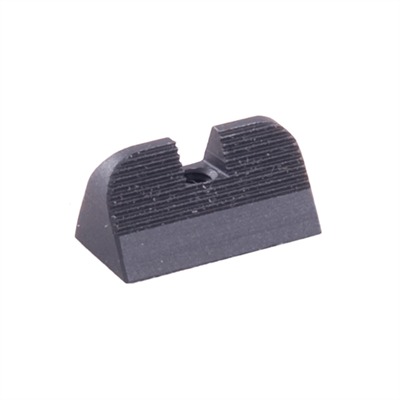
For as good as this installation went, I discovered the MGW front sight is wider and taller than Colt/King sights; and that it won’t work well with the Colt 80 Series rear sights I’ve always used. I even managed to butcher a Colt 80 rear sight trying to ‘perfect’ it, LOL. So back to Brownell’s I go, for one of these Harrison ‘Retro’ rear sights. At 0.317” tall and with a 0.135” notch, it looked to be about a perfect match for the MGW front sight.
http://www.brownells.com/.aspx/pid=31893/sku=100-004-784/Product/1911-Retro-Rear-Sight
Looks, of course, can be deceiving. The Harrison Retro 1911 sight didn’t impress me at all… instead of the ‘Fits GI dovetail’ per the ad copy, the Retro was simply a wedge and it had to be re-profiled to fit the Rock Island slide- which gleefully accepts any other GI rear sight.
I’ve fitted dozens of dovetail sights and this is the worst one I’ve ever done. It’s phony little locking screw is soft and pitifully under-matched for it job it’s supposed to do. The tapping was even bad; the screw wobbled in its threads. The provided, microscopic allen wrench gave out after being snugged down maybe 4 times, while attempting to get zeroed.
You’d get it just about there, and it would loosen and move. Probably wasted 70 rounds before I said ‘to hell with it’. I attacked the Harrison ‘retro’ rear sight with a hammer, prick punch, a fresh tube of Loctite Red and the remaining 130 rounds of my reloads. I pretty much black-smithed the rear sight base until it had to be driven into the dovetail. I didn’t trust that phony little lock screw anyhow.
Figured I had about 30 minutes before the Loctite started to harden, so I headed the old Dodge for the range. Also took the hammer, drift punch and a Big Frigging File to use on the front sight- the gun was shooting a full 6″ low at 25 yards. Fortunately, I was able to get it zeroed and leave a little metal left above the dot.
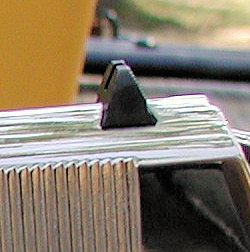
The finished front sight was 0.174″ tall and I also reprofiled the front edge, to make it easier to re-holster. A cold blue touch-up made it presentable.
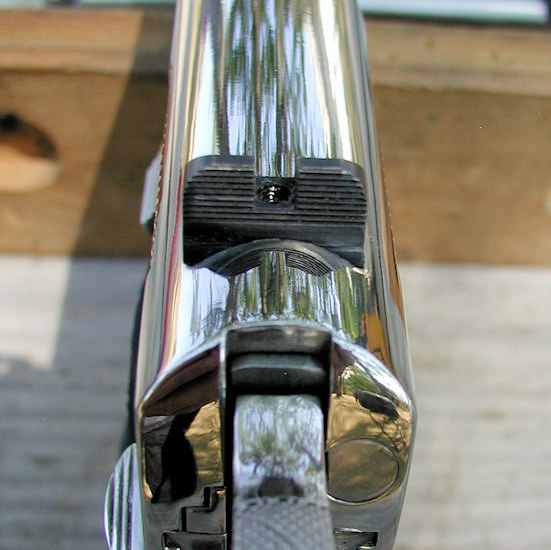
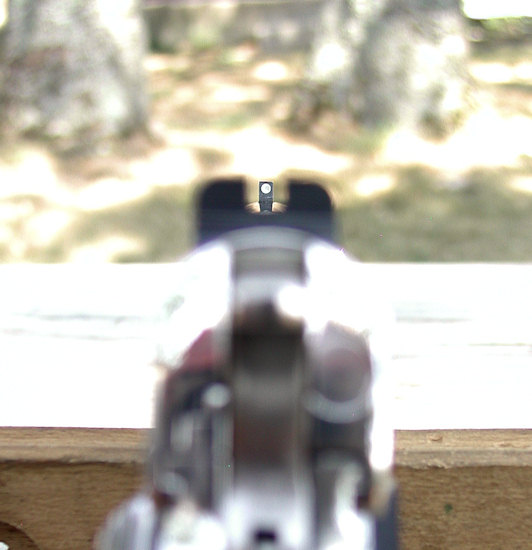
I have always favored a plain rear sight with a dot front sight. It makes for a nice, uncluttered sight picture and If I can get that dot on whatever I’m shooting at- it’s getting hammered. The notch looks wide because photo was taken much closer than arms’ length.
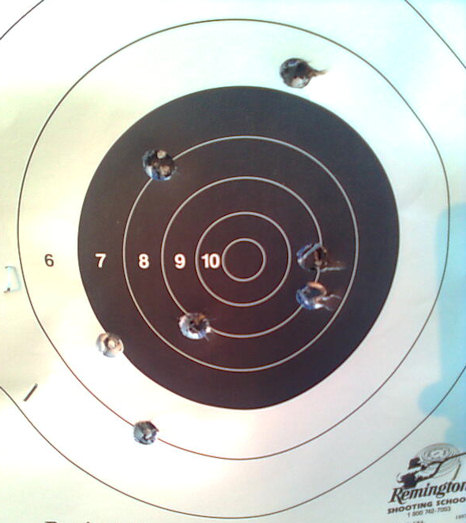
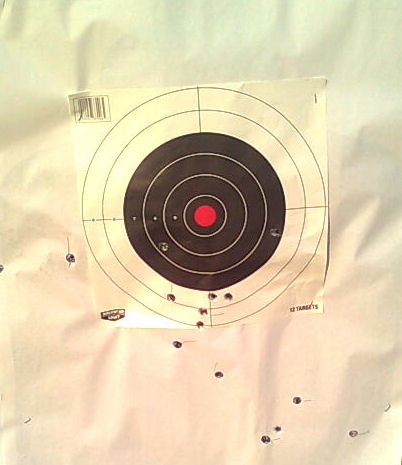
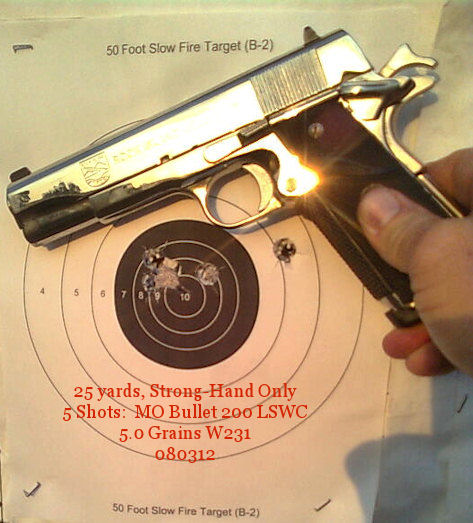
Shooting commenced at 25 yards. I shoot from the bench while setting windage, but with a pistol, elevation needs to perfected shooting unsupported. I shot this at about 30 yards with one hand and while it’s not the best group I ever shot, It was sure nice to see it fall where it needed to go.
I zero my carry guns at 50 yards so I started banging away from the bullseye stance. I started holding a just under the bull, which are the low shots. The promising cluster right under it began to form when I started touching the bull with the front sight. I can see that if I want to cut X’s at 50 yards, I’m going to have to use a center hold.
Finally, the gun had to meet my expectations for zero and combat accuracy- ‘Minute of Noggin’ at 50 yards from an available rest. Three rounds each of Remington 230 grain Golden Saber and Amscor Precision 230 ball. The latter are marked with two lines and went into just over three inches.
I’ve installed sights on quite a few GI-style guns now. Sometimes it’s a ‘gimmie’ and sometimes you have hurdles along the way.
Update… a little offhand shooting with the new sights.



Bruce Beckwith (Drago)
I was happy to hear your comments on the Harrison sight. Do you think a larger set-screw would have worked? I was looking at this sight on Brownell’s website tonight. There are two five star reeviews on it, both by people who had them installed by someone other than temselves. I would urge your to post a review relaying your experiences with that sight.
Sarge author
I think a larger set screw is exactly what is needed, along with a better drill/tap job. Hell I may have just gotten a “Friday at 4:45 PM” example for all I know. I once bought a box of 44 slugs, from the premier bullet caster of the day, and they shot all over the place in my gun.
I have always had a gift for purchasing the single piss-poor example of an excellent product 😉
Ron Yates
I agree that the front sight change is all that is necessary for a good sight picture. I find that the rear night sights serve only as a distraction. Good, informative article on front sight removal and staking of a new sight. I would not try it without the Brownell’s front sight staking tool.
Randy
Very nice article.
Sarge author
Thanks Randy, I’m glad you enjoyed it.
Randy
Very nice article.
Dave
I enjoyed your write-up, having had the same experience with the Harrison “retro rear”, installing it on a Rock Island GI .38 Super. Most of his products are designed to keep gunsmiths in business, they are grossly oversized and fit nothing. Take a look at the rear sight fitting instructions on his website – they call for a special jigs and a milling machine, for a GI-dovetail rear sight!
Fortunately, I have some small skills having been to Colt 1911 armorer school and access to good manuals. Still took me most of an afternoon to get the front and rear sights fitted. Used the Harrison serrated front sight, that was no problem.
Resulting sight picture is excellent. I guess worth the work.
Gunny
I found the mgw rear nowhere near the proper angle.its so far off that I gave up amd used something different on my ria gi model, always good to have spares in the parts box I suppose